

Installing vCenter 6.5 with External Platform Services Controller – Part 1
/In a previous post I covered some of the considerations that need to be made when designing the vCenter topology for your environment. For my lab I have chosen to deploy vCenter 6.5 with an external platform controller (PSC) to support enhanced link mode between the production and DR sites. This will allow me to view and manage both vCenter servers from the same console and try things such as cross-vCenter NSX deployments. As this is a lab I’m just going to deploy and single PSC and vCenter per site and will use the virtual appliance which can be downloaded from https://my.vmware.com/web/vmware/downloads
Mount the ISO file to your management server or workstation and navigate to \vcsa-ui-installer\win32\installer.exe to launch the vCenter Server Appliance 6.5 installer.
Click install to launch the wizard. Notice we have several other options for upgrading, migrating and restoring which is a topic for another day.

The introduction page gives you some background on the process of setting up the appliance. The process is split into two stages, the first deploys the appliance and the second configures it. Click next to proceed.

Read and accept the license agreement and lick next to continue.

For this deployment I’m choosing the external platform services controller option and deploying the PSC.

Enter the IP or hostname of the host you wish to use for the deployment. I’ll be connecting to one of my management hosts using the default root account.

Validate and accept the certificate warning.

Give the PSC a name and set a password for the root account.

Select the datastore you wish to deploy the appliance on. I’ve chosen to enable thin disk mode to save space in my lab.

Configure the network setting you wish to use for the appliance. Most of this is standard stuff but make sure the FQDN you use in the system name has both forward and reverse DNS records configured. The wizard will check and warn you if it can’t resolve DNS names.

Review the settings previously entered to confirm they are correct and click finish to start the deployment.

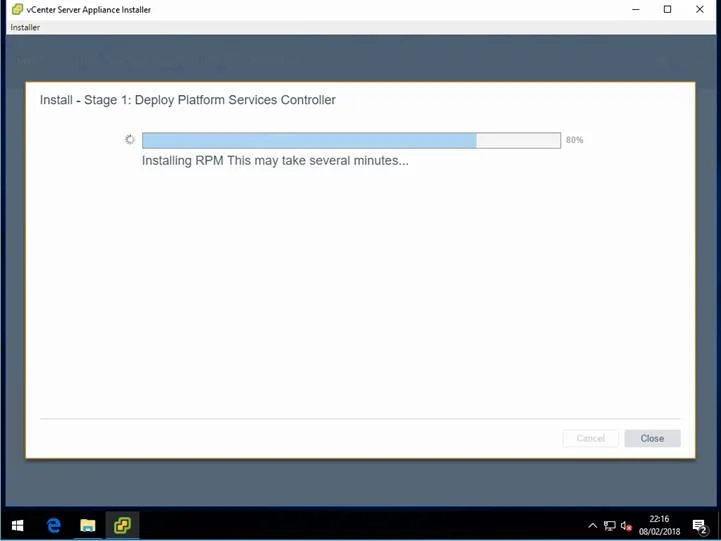
If you’ve entered all the settings correctly the deployment should launch and depending on your environment will take several minutes to complete. Now would be a good time to grab a coffee (or beverage of your choice).
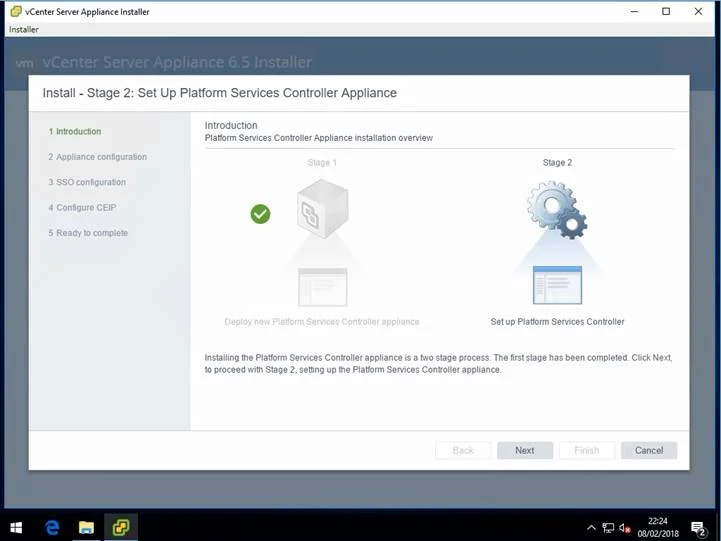
Once the deployment is successful you will see a nice green tick. Clicking continue will move on to the second phase of the process.

Stage 2 involves setting up the appliance and configuring Single Sign-on (SSO). Read through the introduction and click next to continue
Enter details of NTP servers (highly recommended ) or choose to synchronise time with the ESXi host.

This is a new deployment, so I’ll be configuring a new SSO domain.

Enter details for the new SSO domain. The password needs to meet the certain complexity requirements and will error if these are not met. A site name is also required and to keep things simple I’ve chosen to call my site S1.

Decide if you want to join the VMware customer experience program.

Review the configuration settings and click finish to complete the process.

Note the warning message and click next to continue.

The setup process now runs using the configuration provided in the wizard. Depending on your environment it may be time to grab further refreshments.

Once complete you can launch the getting started page and close the wizard. If you close the page before launching the web the address is https://<fqdn_of_psc>:443

Now we have deployed the PSC our focus can switch to deploying the vCenter appliance which I’ll cover in part 2.