

Deploying VMware NSX-V – Part 1 Deploying NSX Manager
/In this series of blogs posts, I’m going to cover the deployment process of NSX-V and how to configure some of the components required to demonstrate functionality such as micro-segmentation, logical switching and distributed routing. If you need a quick refresher on what the components are then the link below will take you to a post I wrote earlier this year.
https://www.definetomorrow.co.uk/blog/2018/1/15/primary-components-of-nsx-v
NSX manager comes packaged as an ova file and you can use either the vCenter client or PowerCLI to deploy these. Before downloading I’d suggest you review the VMware compatibility matrix to check which version is supported on your version of vSphere.
https://www.vmware.com/resources/compatibility/sim/interop_matrix.php
Once confirmed download the binaries from VMware and launch the ova deployment wizard from within vCenter. As I’ve downloaded the ova file locally I’m going to click browse to start the process.

Select the ova you wish to deploy and click open. I will be deploying version 6.4 in my lab, which is running vSphere 6.5 U1.

Choose a name and select a folder to place the VM, then click next.

Select the target host or cluster on which to deploy the appliance and click next.

Review the details page and click next.

Read and accept the license agreement and click next.

Select the datastore to locate the appliance and click next. As this is a lab I’m going to use thin provisioning to save space.

Choose the network or port group to connect the appliance and click next.

The customise page contains several fields that you need to complete which includes network, services and password configurations. I’m not running IPv6 and have ignored any configuration for this. Below is a list of the requirements I needed to complete.
- DNS Servers
- Domain Search Lists
- Default IPv4 Gateway
- Hostname
- Network 1 IPv4 Address
- Network 1 Netmask
- NTP server list
You also need to choose if SSH is enabled and set the following passwords
- CLI “admin” user password (default CLI user for the appliance)
- CLI Privilege mode password (required to use CLI Privilege mode)
Both passwords above need to meet certain complexity requirements and will error if these aren’t met.
Once complete click next to continue.

Review the settings and click finish to start the deployment.

The ova should start to deploy and will take several minutes to complete.

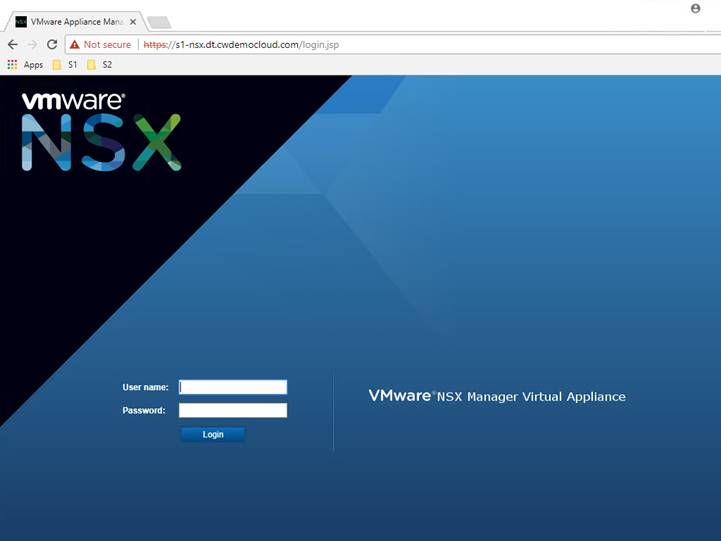
Once the deployment has finished power on the VM. Once booted launch a web browser and connect to the management interface on port 443 using the IP address or fqdn configured earlier in the process. The user name is admin with the password you set during the deployment.
Whilst the appliance is quite simple to deploy I’d just like to reiterate the importance of checking the VMware compatibility matrix – this will save you a headache further down the line. The second part will cover setting up NSX Manager and configuring integration with vCenter.
To read our NSX solution brief, to book a meeting to discuss NSX with Ben or for more information on VMware NSX, click the button below:
To read other articles within this series, click below: